I’ve noticed that some people, especially those new to cloud computing, find Google Cloud a bit overwhelming. The platform offers many services and features, which can be intimidating for first-time users. Our course website seems to miss this introduction part as well. So I’ve decided to create this very basic walkthrough to help you set up your first virtual machine (VM) on Google Cloud.
I spent some time figuring it out, hope it is useful somehow.
Google Cloud Setup
- You might need to add your credit/debit card information before all of these.
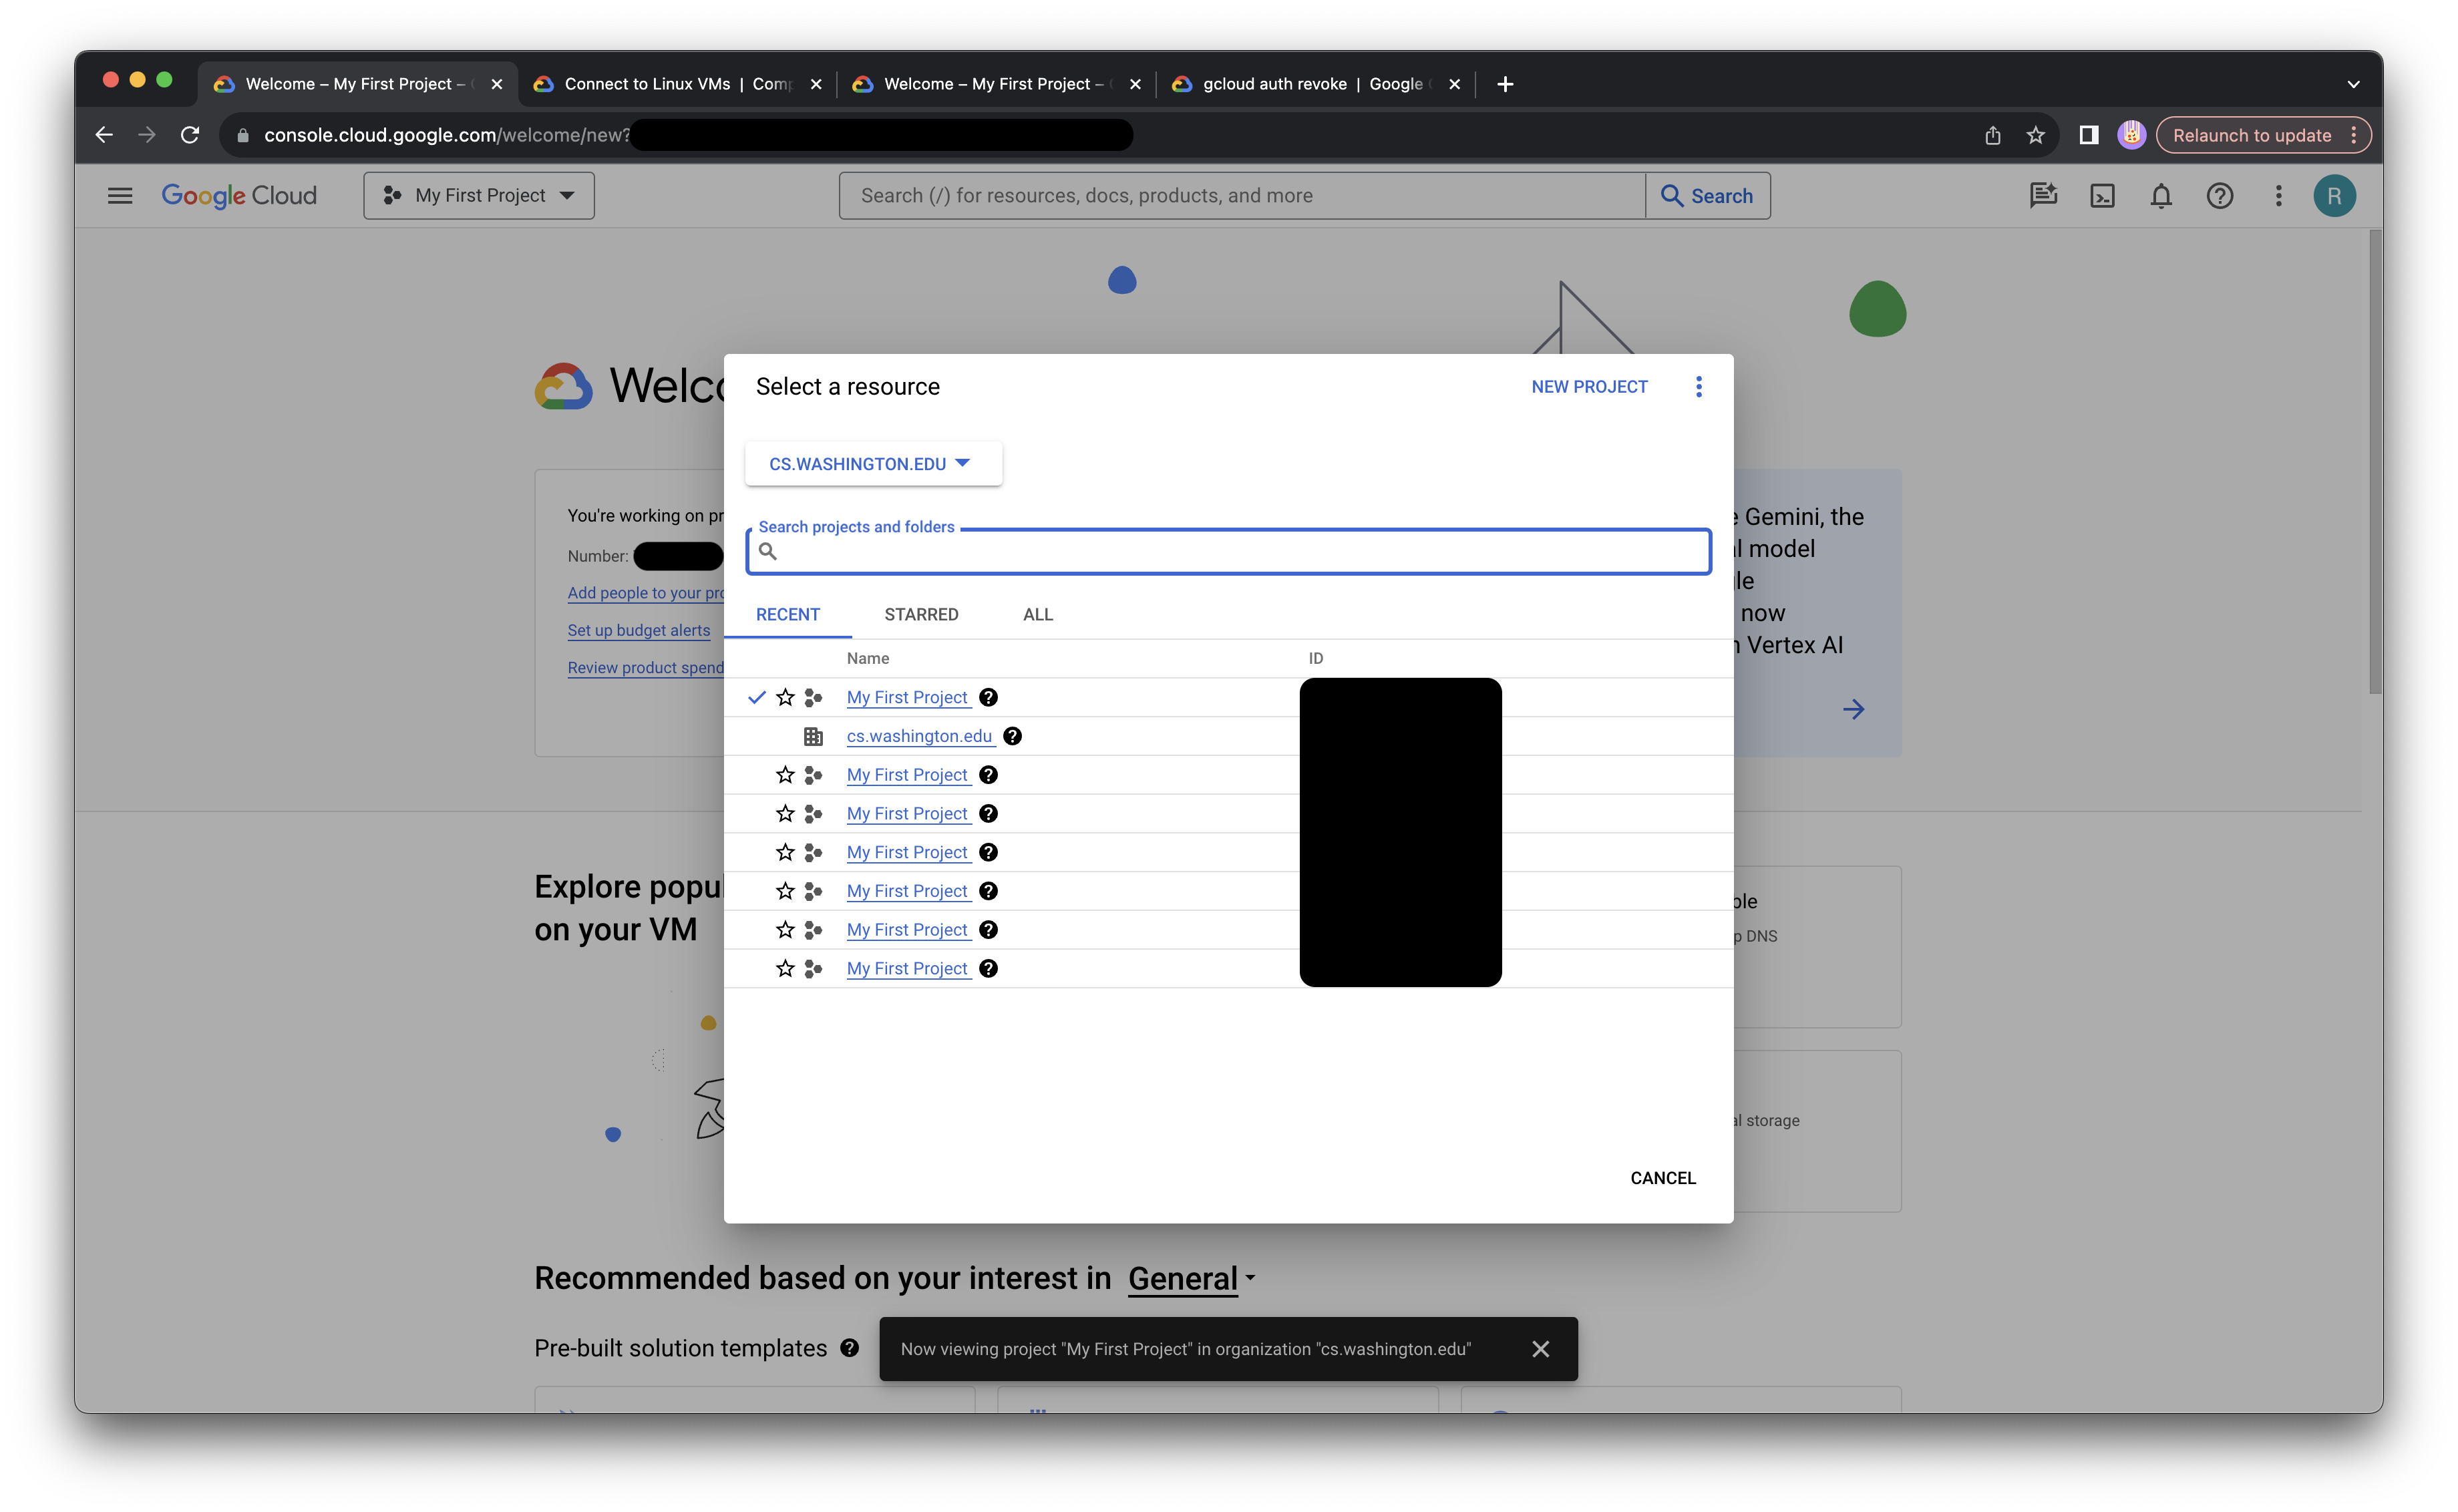
- Go to upper-left select organization
cs.washington.edu, then select anyMy First Project, remember the project ID. - Go to top search bar, search
COMPUTE ENGINE. - Click
CREATE INSTANCE, create name, region, zone for you VM, and take notes for these information now if you don’t want to waste time finding them later. We usedus-westsince it shows low CO2. - In
Machine configuration, selectGPUs, we are usingNVIDIA T4, select what you need. If T4 is not available, try other GPUs, like P4. Then clickCUSTOMto change memory size if you need. - In
Boot disk, change the size to what your project needs, our project uses roughly 100GB. Please double check the size you need. - On the right, you can see the estimated cost of your whole VM after various configurations.
- Then click
CREATE, and wait 1~2 mins for your VM booting. - Once it is done, you should be able to use SSH or
gcloud CLIto access your VM.
Using gcloud CLI
- Download and install gcloud CLI here.
- Use
gcloud initto initialize, and set up passkeys etc. - Then use the information you noted in Google Cloud setup to access your VM, replace with your project ID in step 1, and project zone, VM name in step 3:
gcloud compute ssh --project=project-id --zone=project-zone your-VM-name- Use it as you use CSE’s
attu. Install some packages, clone some Github projects, etc. Enjoy!
Useful gcloud commands
- Now you might want to transfer some files between VM and your local machine. Before that, do this authorization first after connecting to your VM:
gcloud auth login- Transferring files from VM to local machine, on your local machine do the following:
gcloud compute scp --recurse VM-NAME:VM-PATH LOCAL-PATH- Transferring files from local machine to VM, on your local machine do the following:
gcloud compute scp LOCAL-PATH VM-NAME:VM-PATH- Exit VM, press
~then.
Install Everything on VM
If you don’t want to copy & paste line by line, use this one line command instead:
wget -O setup.sh https://raw.githubusercontent.com/rayxsong/vera-extension/master/setup.sh && chmod +x setup.sh && bash setup.sh
The command above should handle CUDA and Conda installation, and have basic Conda ready.
# update and install essential
sudo apt-get update
sudo apt-get install build-essential

# install CUDA in the version of your system
wget https://developer.download.nvidia.com/compute/cuda/12.3.2/local_installers/cuda_12.3.2_545.23.08_linux.run
sudo sh cuda_12.3.2_545.23.08_linux.run

# install conda
wget https://repo.anaconda.com/miniconda/Miniconda3-latest-Linux-x86_64.sh
bash Miniconda3-latest-Linux-x86_64.sh -b -u

echo 'export PATH="~/miniconda3/bin:$PATH"' >> ~/.zshrc

source ~/.zshrc

conda init

source ~/.bashrc

# create env
conda env-name create -f environment.yml
conda activate env-name

# install notebook
pip install -U jupyter
Use VSCode with VM
- Install the extension Remote-SSH
gcloud initgcloud compute config-ssh- Select
Remote Explorer, upper left click+, add a remotessh your-host - Connect
- If it doesn’t allow you connect to SSH because it cannot find the correct hostname, go to your SSH config file, usually it is under
/Users/username/.ssh/config, and you can see gcloud generated config. Make sure allHostNameis your External IP address which you can find in VM information.
Safely Exit the SSH
#MYLE
To start a training process on a virtual machine (VM) in the cloud and safely exit the SSH session without interrupting the training, you can use tmux.
# connect to ssh
ssh your-host
# or
gcloud compute ssh --project=project-id --zone=project-zone your-VM-name

# install tmux
sudo apt-get update
sudo apt-get install tmux

# start a new session
tmux new -s your_training_session

# run your scripts, something like this
accelerate launch your_training_script.py

# detach from the current session
# Press `Ctrl` + `b`, then release both keys.
# Press `d` to detach from the session.

# exit ssh safely
exit
If you want reattach to your session:
# connect to ssh
ssh your-host

# check processes you have
nvidia-smi

# reattach
tmux attach -t your_training_session
Use Colab’s VM
I found this temporary solution using Colab as some T4 are not available. Basically, it allows you to run the terminal in blocks and you can do everything you want to do on a VM, even if you don’t have Colab Pro. Here is the notebook. Make sure to connect to T4 runtime if you want to use the GPU.
Add a following block:
!pip install colab-xterm
%load_ext colabxterm
%xterm
If you want to use conda:
# install conda
mkdir -p ~/miniconda3
wget https://repo.anaconda.com/miniconda/Miniconda3-latest-Linux-x86_64.sh -O ~/miniconda3/miniconda.sh
bash ~/miniconda3/miniconda.sh -b -u -p ~/miniconda3
rm -rf ~/miniconda3/miniconda.sh

vim ~/.zshrc

# add export PATH="/root/miniconda3/bin:$PATH"
# use ':wq!' to save and quit vim

source ~/.zshrc

conda init

source ~/.bashrc
Using VM Notes
- It is a empty VM, we need to install all needed packages, such as
conda,gitetc. - If you want to download a folder on your Google Drive, change the following command to your link and folder path:
# install gdown
conda install conda-forge::gdown

# download a folder
gdown Google-Drive-Shared-Link -O Local-Folder-Path --folder- Prepare the W&B API key if your code is using
wandbto monitor training. source ~/.bashrcis a good friend to refreshbashand get some your new packages working.
Before this
We spent a night trying to make Vera running on Colab, but we failed. It seems that Colab doesn’t support conda very well, this the same issue I had in Finite-State Machine project. But it was helpful to know you could install some libraries on Colab permanently from a blog post sent by Jay. So we shifted to Google Cloud, it should work similarly as Colab works except GUI. It turned out, Google Cloud supports conda much better than Colab, the environment setup was smooth.
Related Links
- Accelerate Library, enables the same PyTorch code to be run across any distributed configuration.
- W&B, AI developer platform, with tools for training models, fine-tuning models, and leveraging foundation models.